Below are the details and pictures put together by Eric while doing a valve/head clean on a CX500 EuroSport. It is exactly the same job for all the CX models.
Thanks Eric for putting this together.
Finally got to finish re-grinding the valve seats on the CX500 Project engine. I had done the Right Hand Side (RHS) already and just had to finish the LHS.
So first things first – remove the sparkplugs and make sure the cylinder is at TDC (Top Dead Center) – this is mainly to ensure there is no load on the push rods – you should be able to feel a little bit of play/movement in all four rocker arms if you pull and push them. So check flywheel
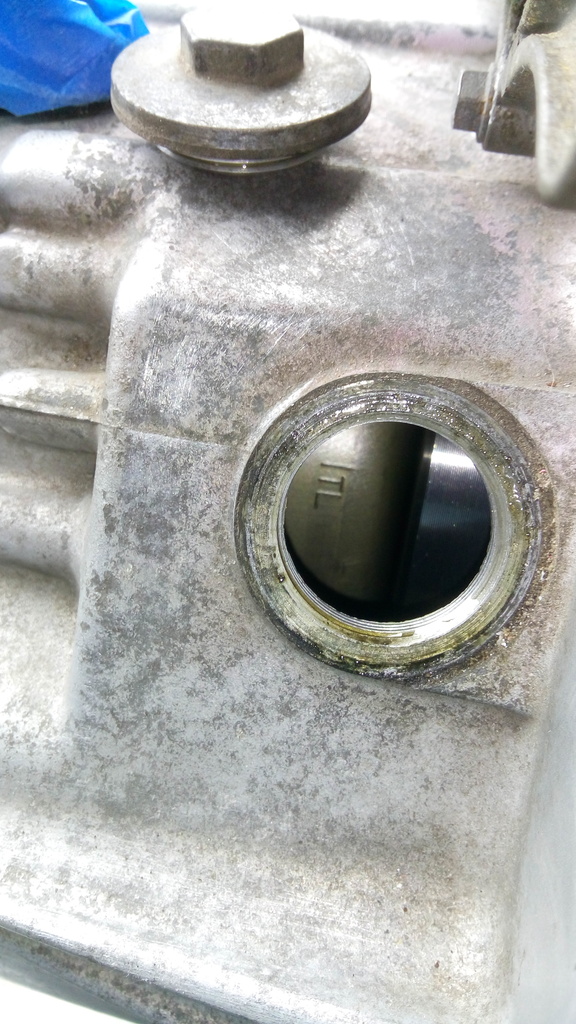
Dont forget to open the coolant cylinder drain screw and allow coolant to drain from around cylinder – if you dont do this then once you slacken off the head bolts then coolant will start to leak from around the head gasket – ask me how i know this ??
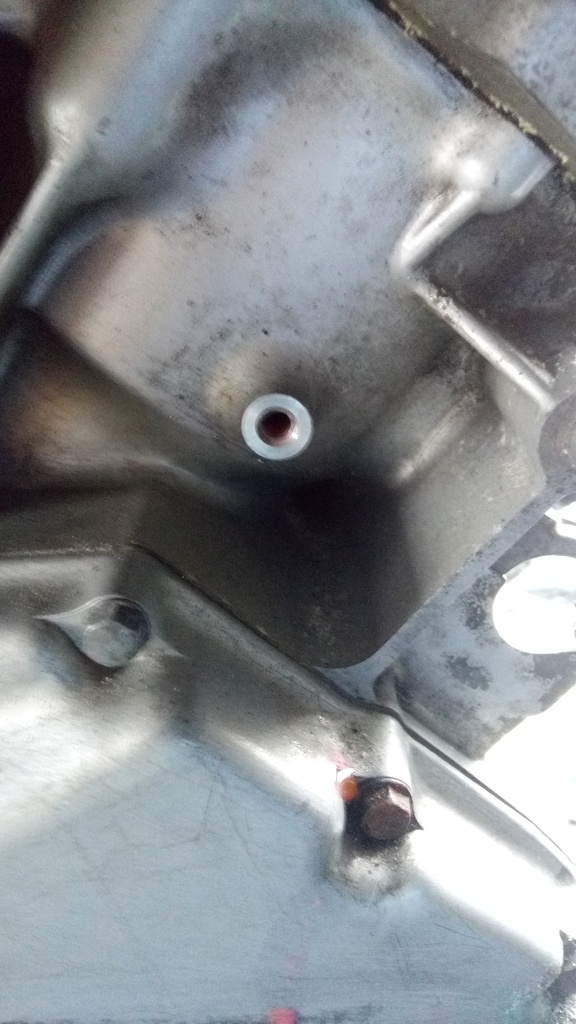
Remove the rocker cover and here’s what you have …………
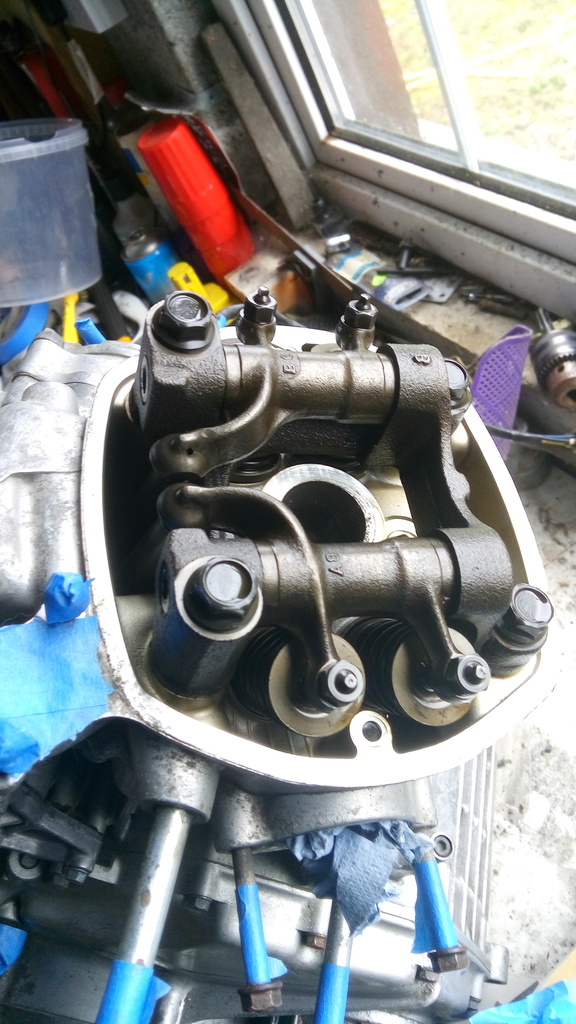
Gradually loosen the 4 headbolts – do this in a criss-cross pattern, a quarter turn at a time initially.
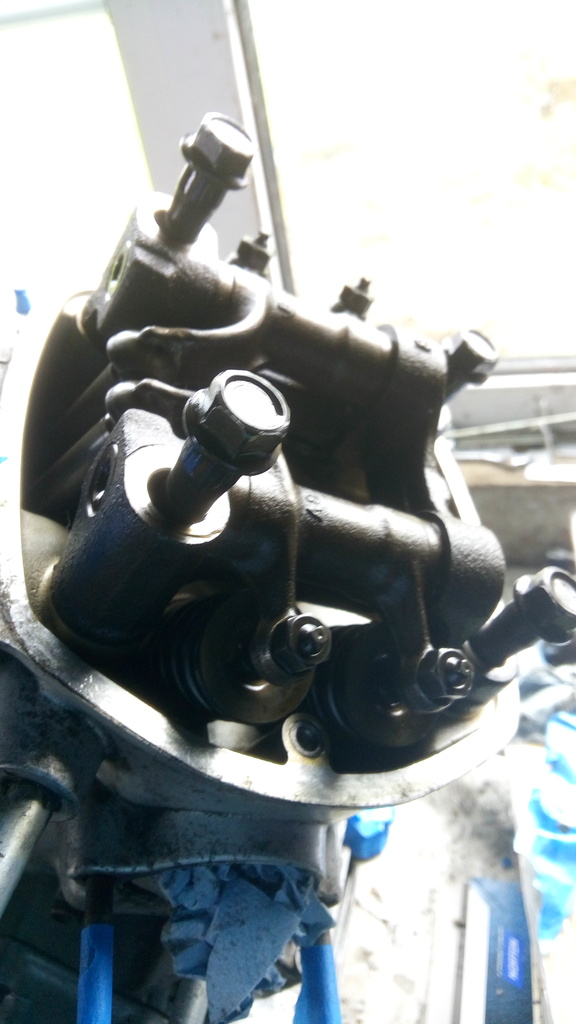
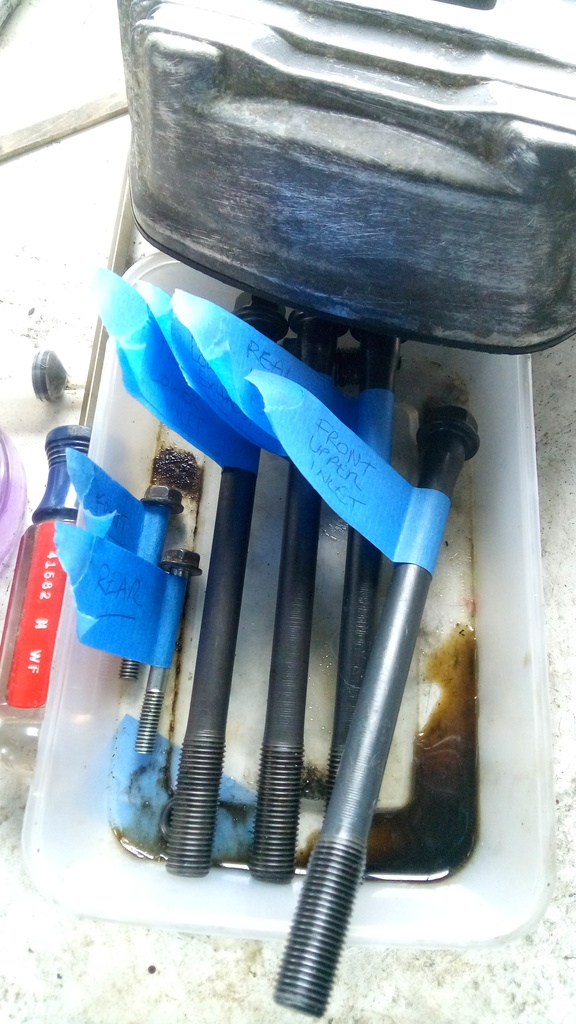
Remove the bolts one at a time and label them for future reference. Remove the 2 x 10mm bolts on the top of the head.
Guru Note – the threads on these bolts look like new. Most time they are very dirty. Ensure you clean them thoroughly before you put these bolts back into the engine.
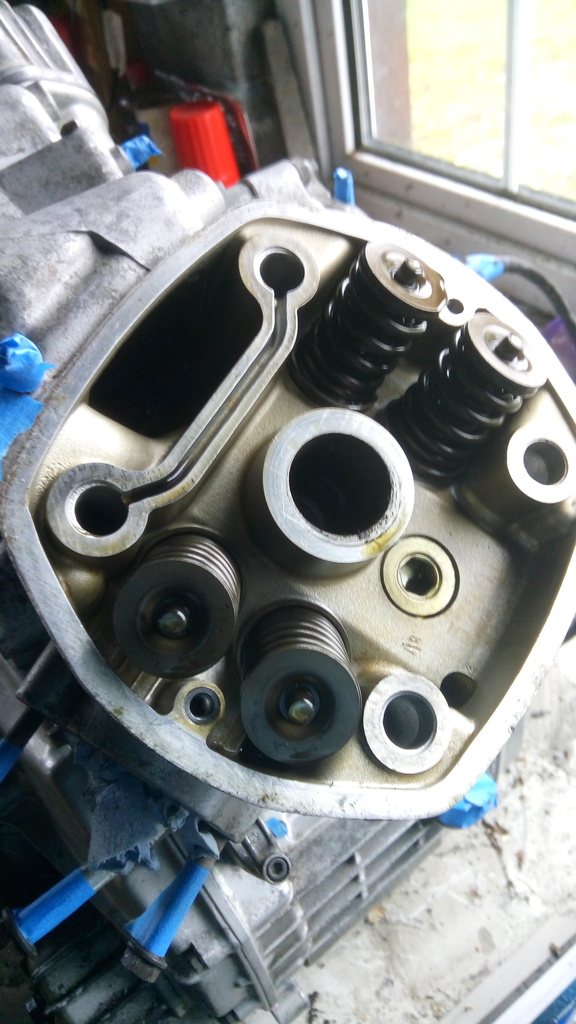
And here’s what you’re left with after lifting off the rocker assembly
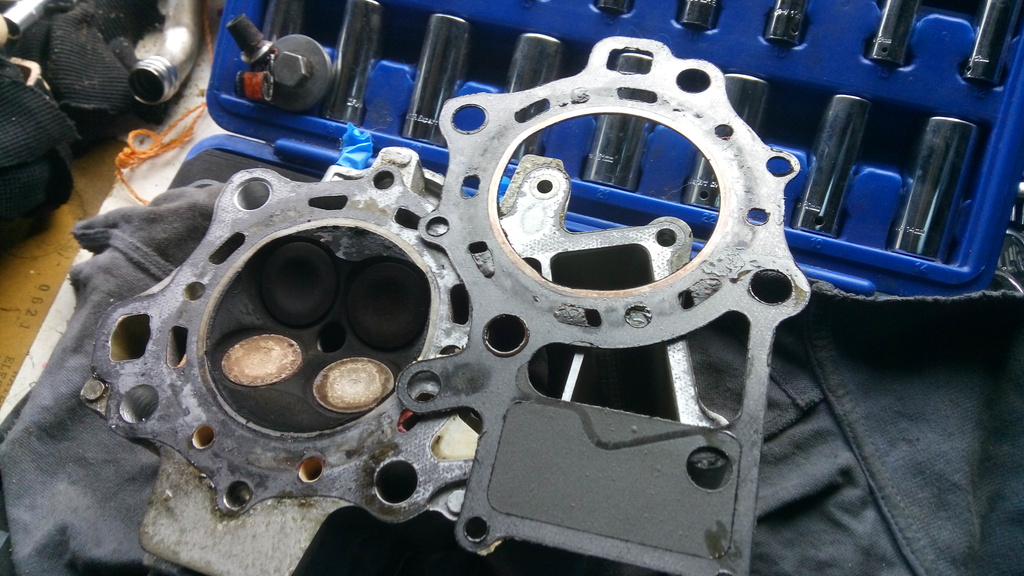
A few gentle taps around the edge with a rubber mallet should loosen the head and allow you to lift it off – in this case the old gasket stuck to the head – I prefer this to it sticking to the crankcase where it seems to be harder to remove.
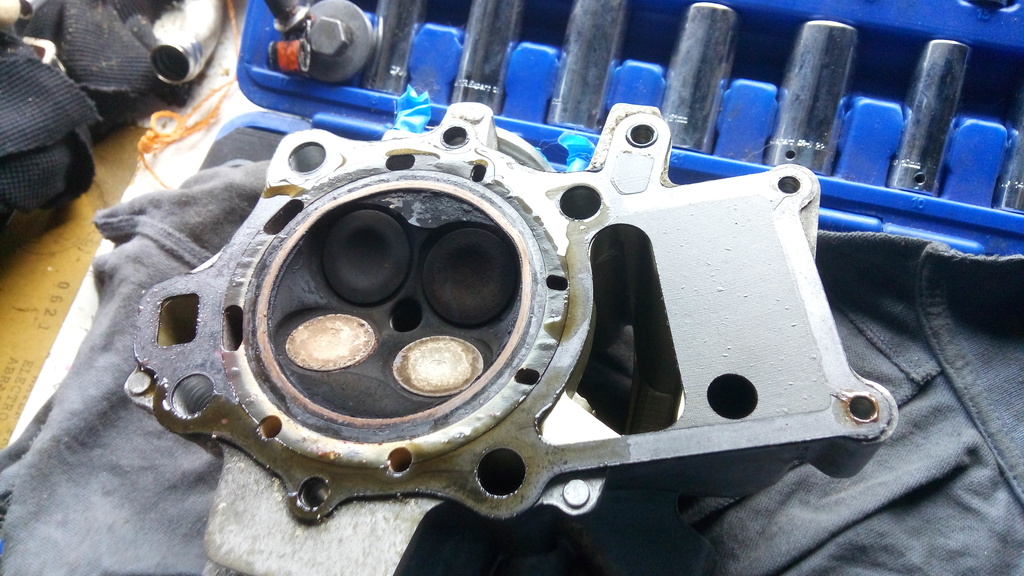
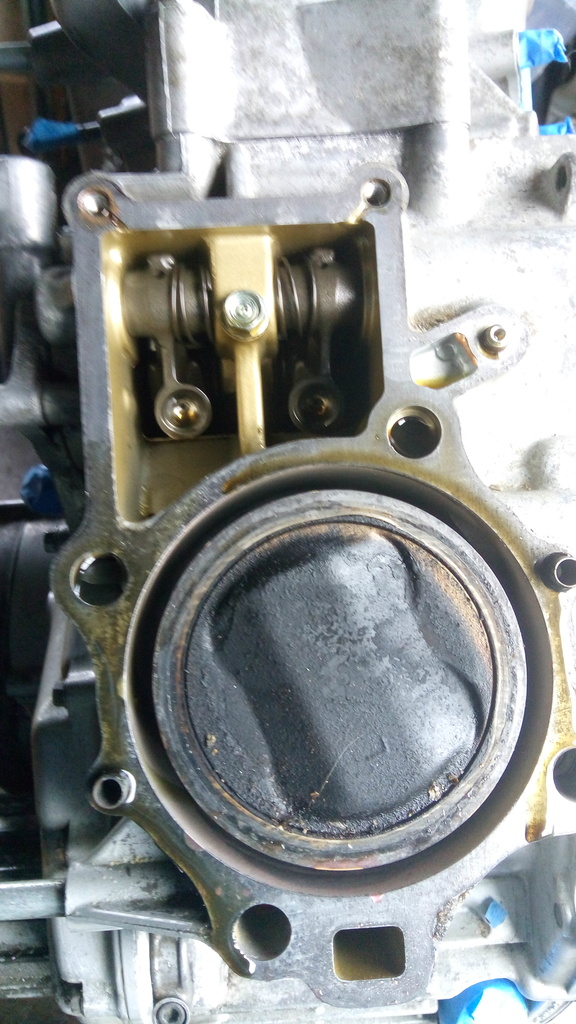
And in this case the old gasket lifted off easily in one piece.
Guru Note: If it does not lift off easily you will have to very carefully scrape it off piece by piece – patience is the order of the day.
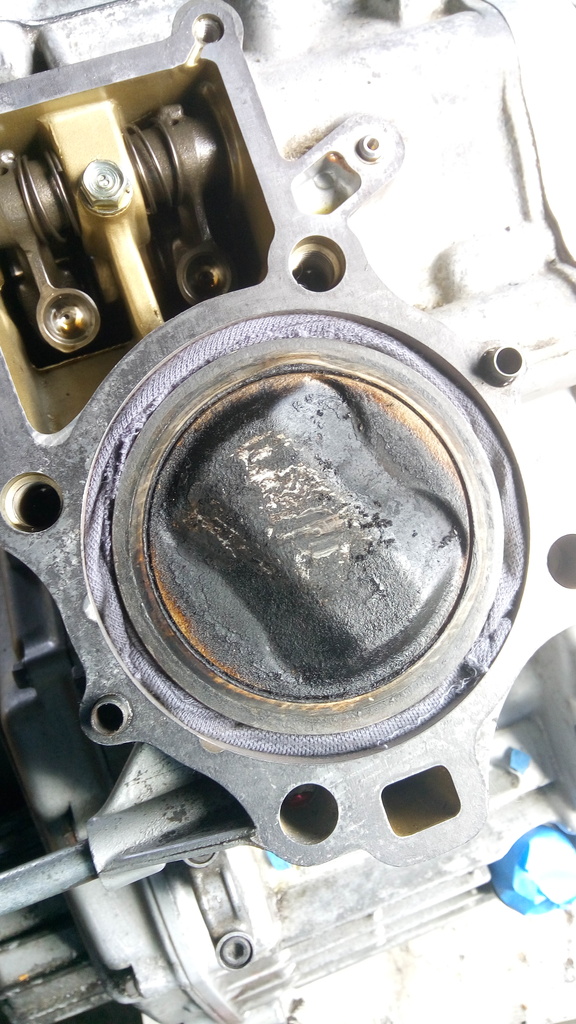
I stuffed some rag down the coolant gap to stop dirt etc. getting in here when I was cleaning off the top of the piston etc
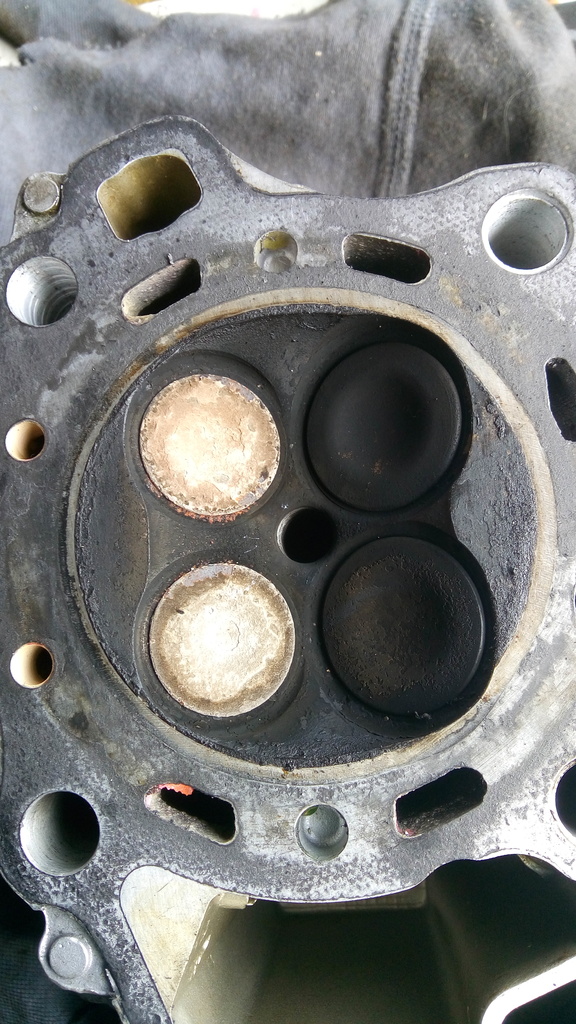
Spot the exhaust valves with the carbon deposit on them – I usually scrape the majority of this off with a flat screwdriver before I remove the valves from the head.
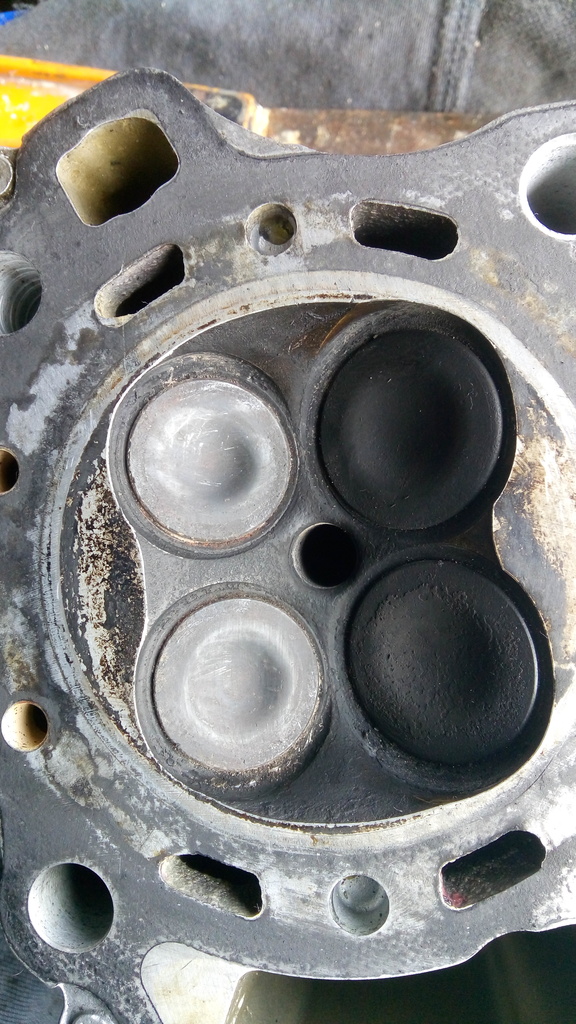
Most of the gunk gone below – when I take the valves out I will clean the inside of the head further – avoiding the seat of course.
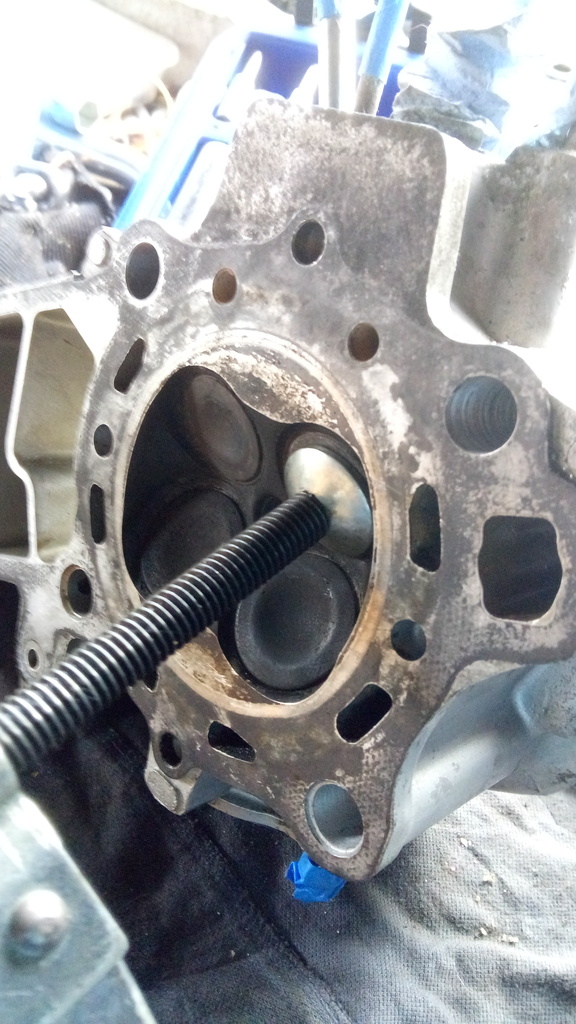
I have a valve tool for removing valves (I don’t know how you could do it without one !!) – theres the side that sits on the valve head
The spring/collet end
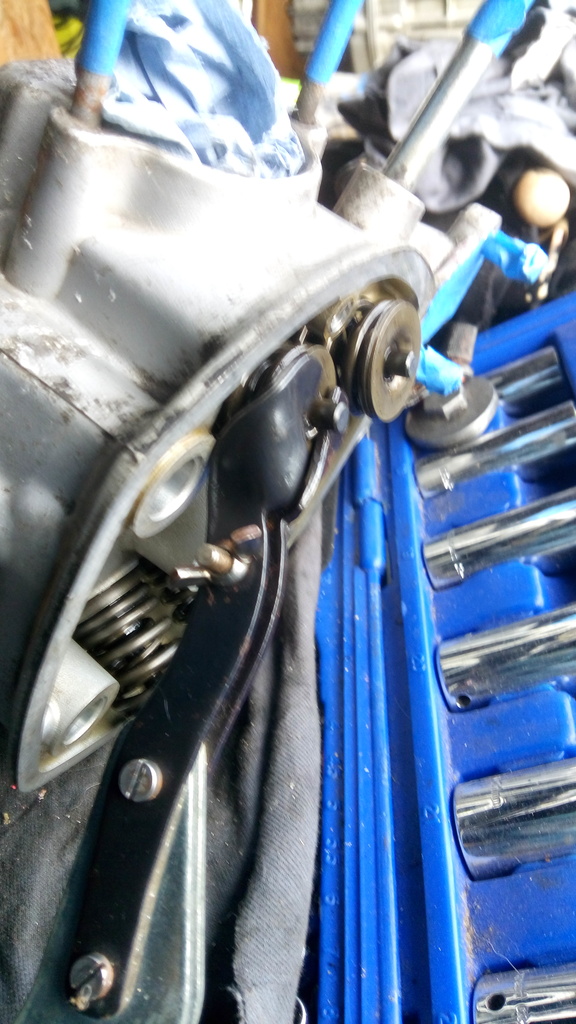
And here’s the whole tool – when placing this make sure you take into account the slope of the valves and place in the correct way round so you’re pressing in a straight line in the direction of the valve travel. (Along the axis of the valve).
Guru Note: You can make one of these valve compressors as well. Look on the internet there are lots of ideas.
Here’s the little puppies (collets) that you’re trying to remove – they’re small and will fall out once you release tension on the valve – dont lose them.
Guru Note: Not only will they fall out, but they will grow tiny legs and sprint away into the mist never to be found again. Try having the head turned upright with the collets on the top. They can be easily removed then with a magnet or magnetic screwdriver.
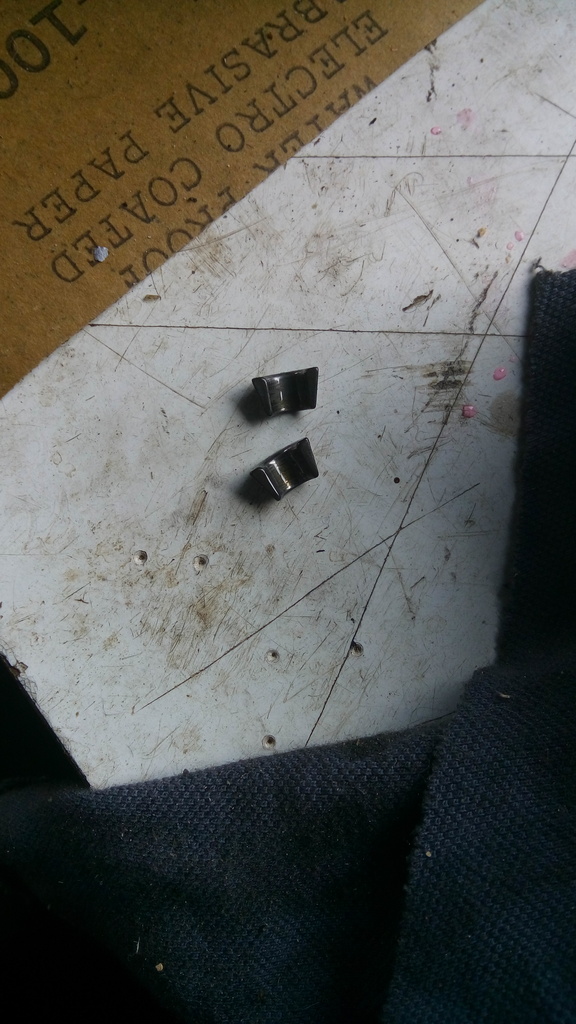
And here’s where they came from – around the top of the valve stem.
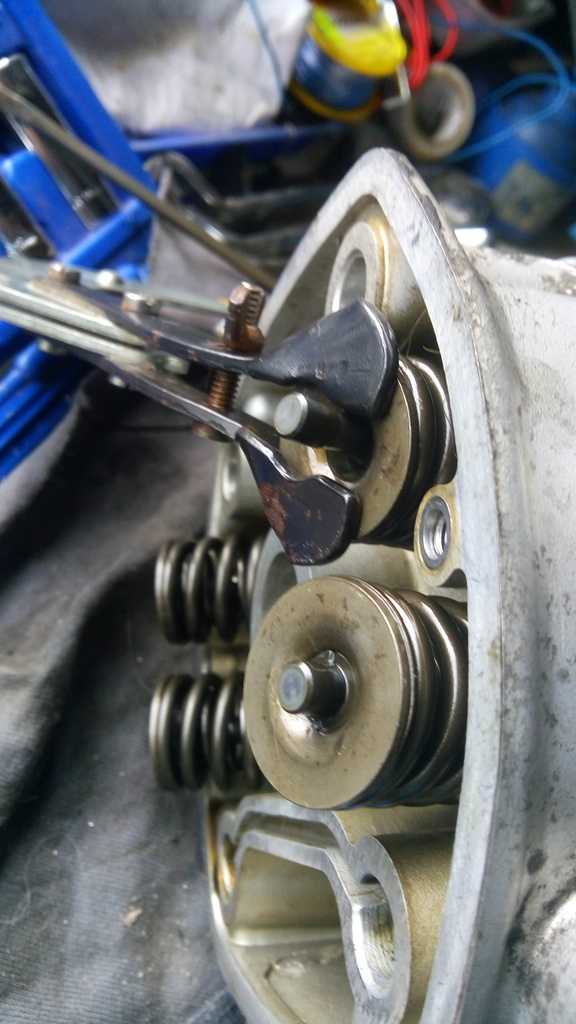
Pull the valve out – pry off the valve stem seal and remove the valve spring seat (if you dont it will fall off later and the garage gremlins will get it !!)
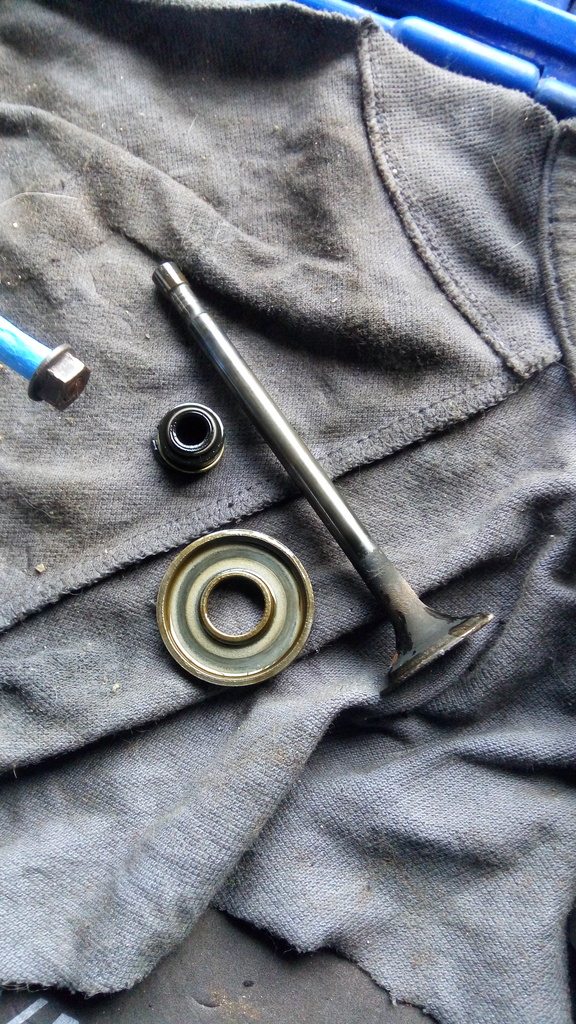
This is the old valve stem seal still in place. You will destroy these in getting them off, they are going in the bin anyway.
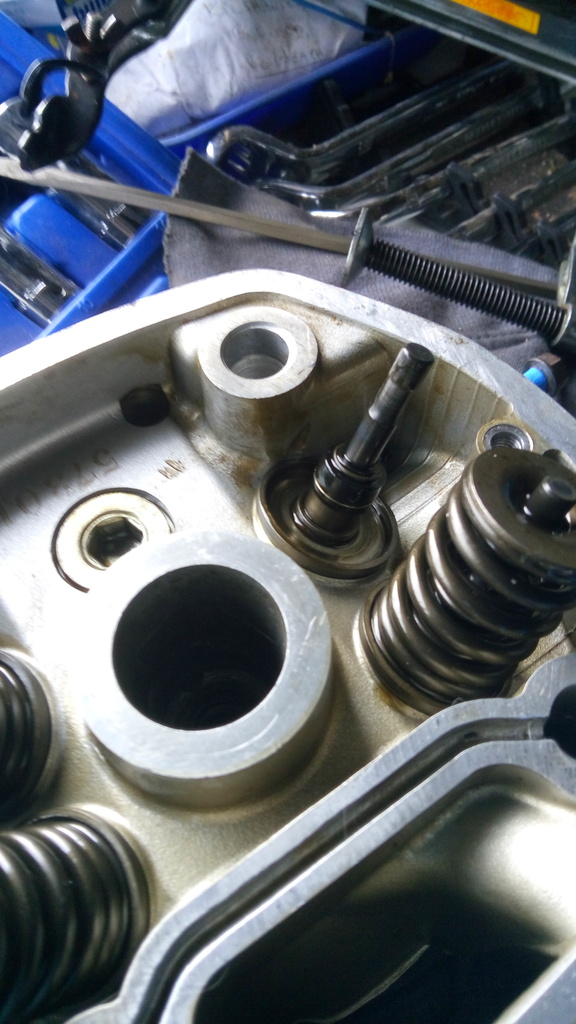
Below I was trying to show the old valve seat ……not a nice even grey colour, some small black spots on it…. will need grinding.
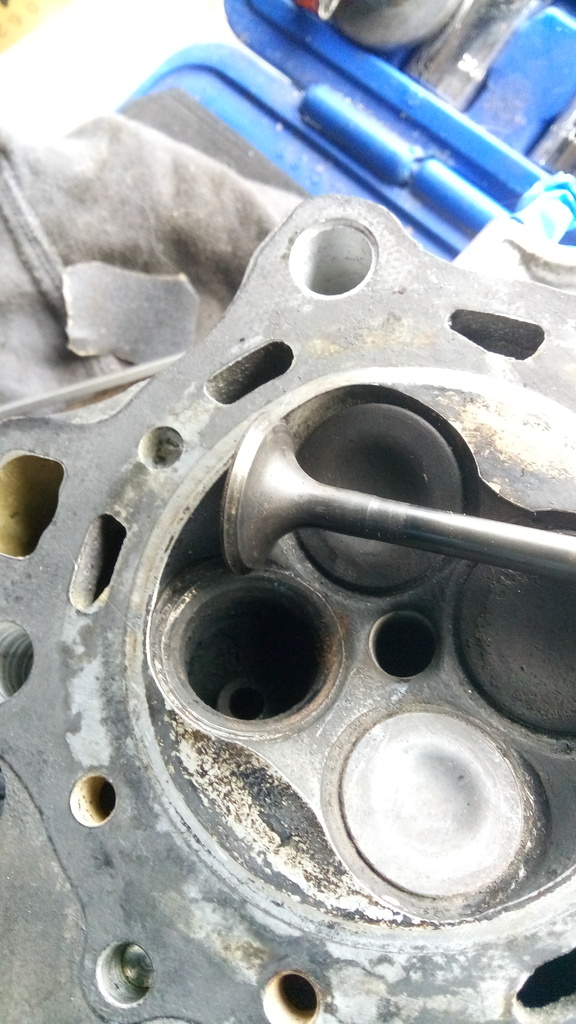
Valve seat grinding kit (got in halfords years ago) – a coarse and fine grit as well as rubber tipped stick.
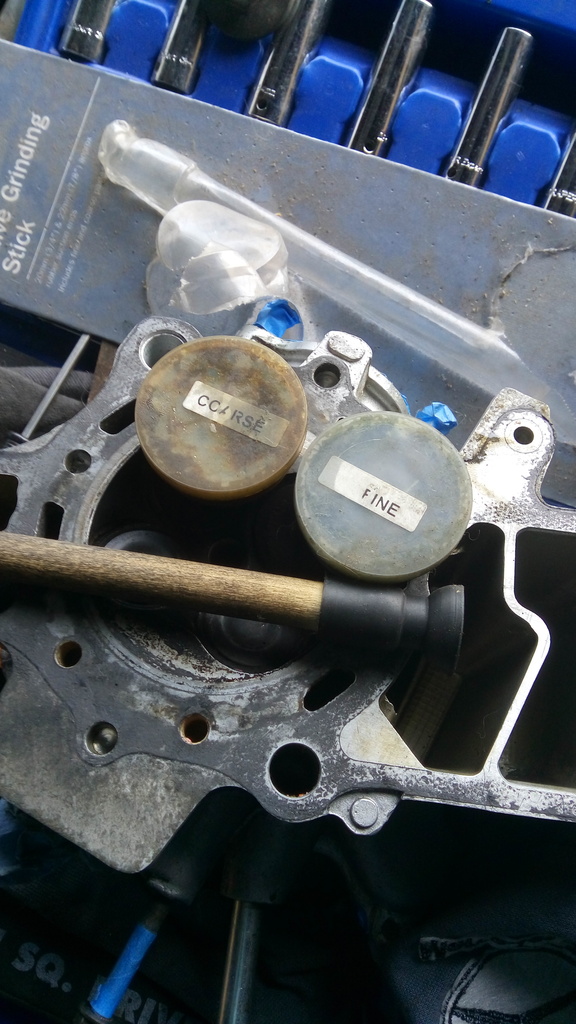
Hard to get a good photo here – this is some of the coarse grit on the narrow face of the valve – you only need a little bit – you only put it on the valve, not the head. Then slide the valve back into its guide so it sits roughly the way it was.
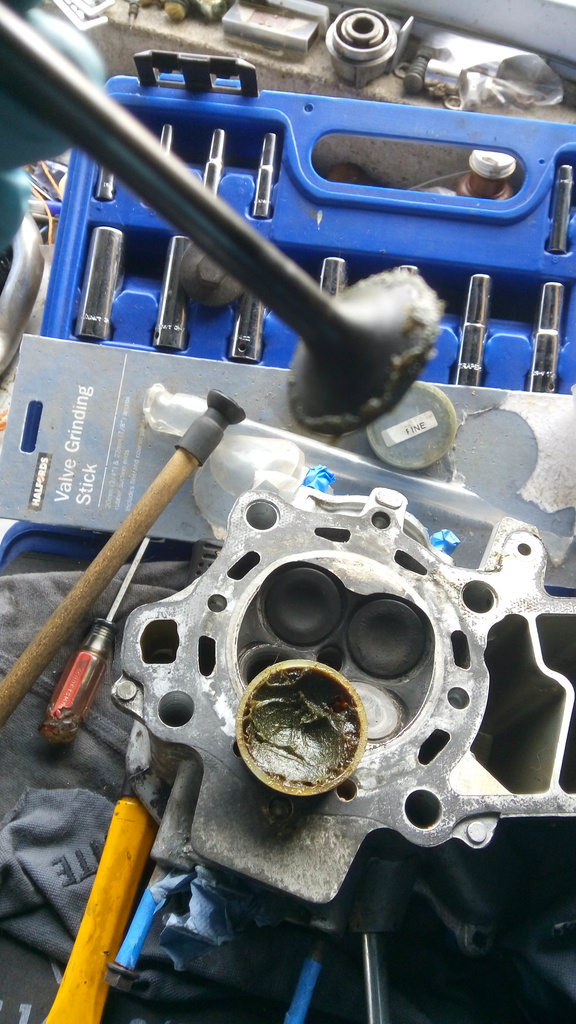
Attach the rubber sucker stick to the flat head of the valve. Then like you were trying to start a fire rub it back and forth between your palms for 5 or 6 seconds – lift it about 1cm, turn it 90 degrees, drop it and “fire-start” again for another 5 or 6 seconds. Do this about 10 times or so – then remove the valve from the head, wipe off the grit/paste from both the valve and the head.
Guru Note: Make sure you get 100% or more of the paste off the valve and seat. Use petrol or carb cleaner or whatever you can lay your hands on. It is very important to remove all the paste.
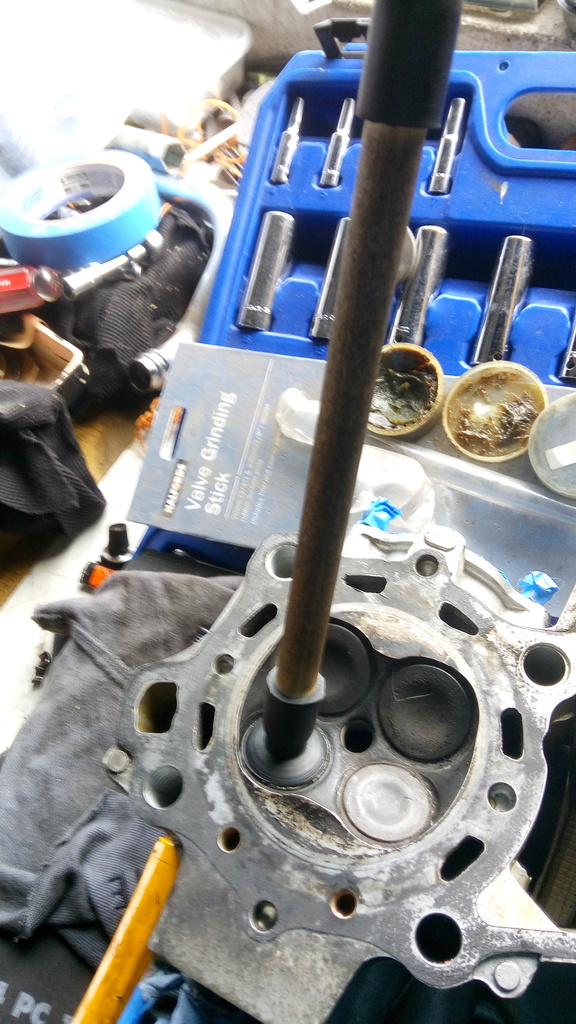
Hopefully you’ll only need maybe one run with coarse paste and another with fine paste – unless you notice marks on the valve seat that dont seem to go away – what you’re looking for is a nice even dull grey band where its nice and even – black marks would indicate its not smooth etc and would need to be re-done.
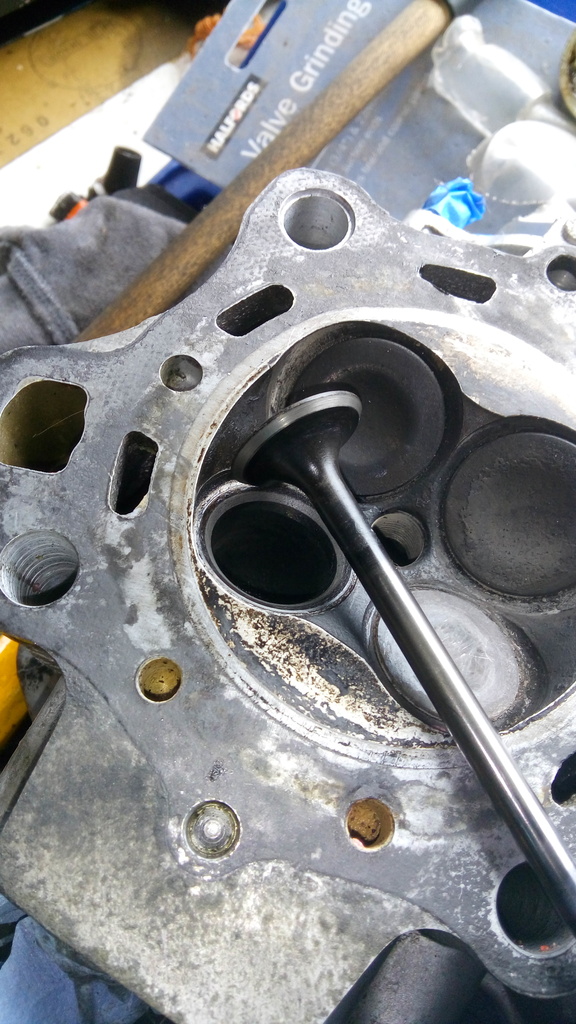
Then its time to refit the valve spring seat – DONT FORGET THIS – if you fit the valve stem seal before this then this wont fit over the seal and you’ll have to ruin the seal taking it off again (dont ask how I know this) – THEN fit the valve stem seal – make sure if down snug.
Guru Note: How do you know this ??
Guru Note: You will notice Eric is using a blue valve seal, usually made from modern Viton or Silicone rubber. These seals are much better than the originals or the ones in the spurious gasket sets.
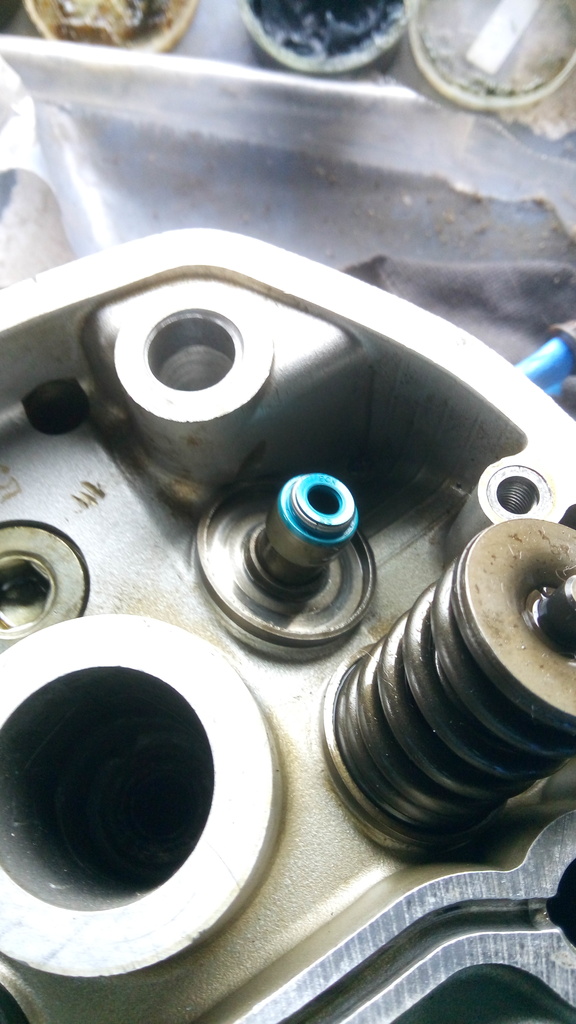
Fit the springs back in place – I always fit the springs back the way I took them off – I believe there is a documented spring length in order to test the springs are within tolerance – I havent found one yet that wasnt !!
Guru Note: Liberally cover everything you reassemble with clean engine oil.
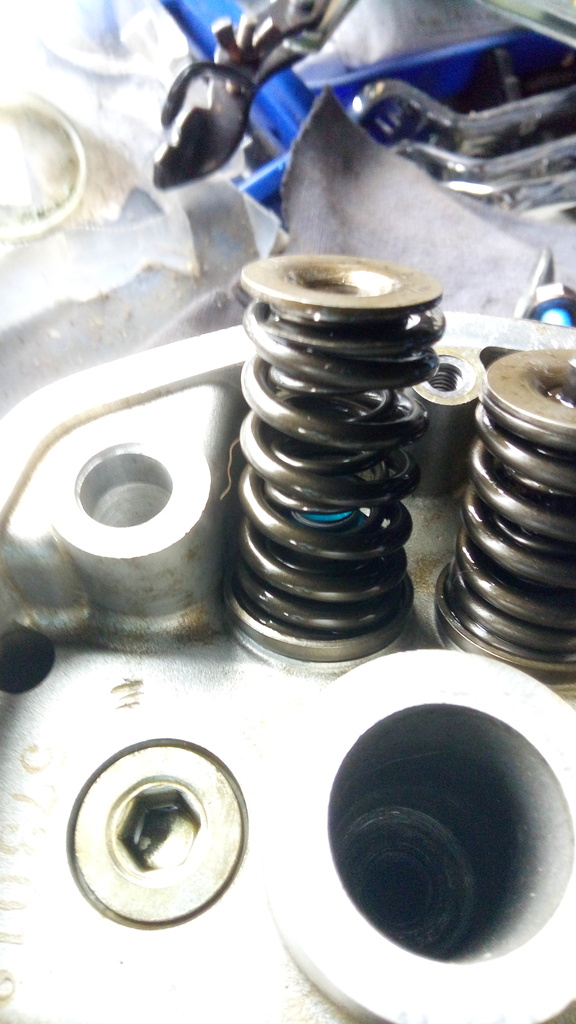
Then fit the valve compressor tool – this is fun as you have to have 3 hands here to hold the spring from falling off – hold the valve – turn the head sideways and fit the tool…and tighten it a bit…….what fun.
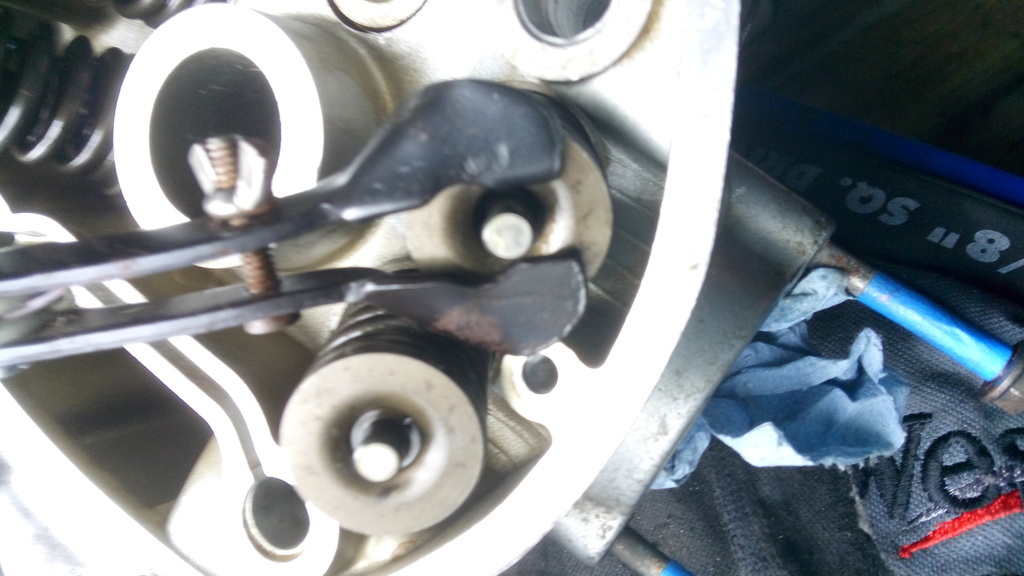
When the tool is in place – tighten it to compress the spring and make a space to drop in the little collets (THAT YOU DIDNT LOSE !!)
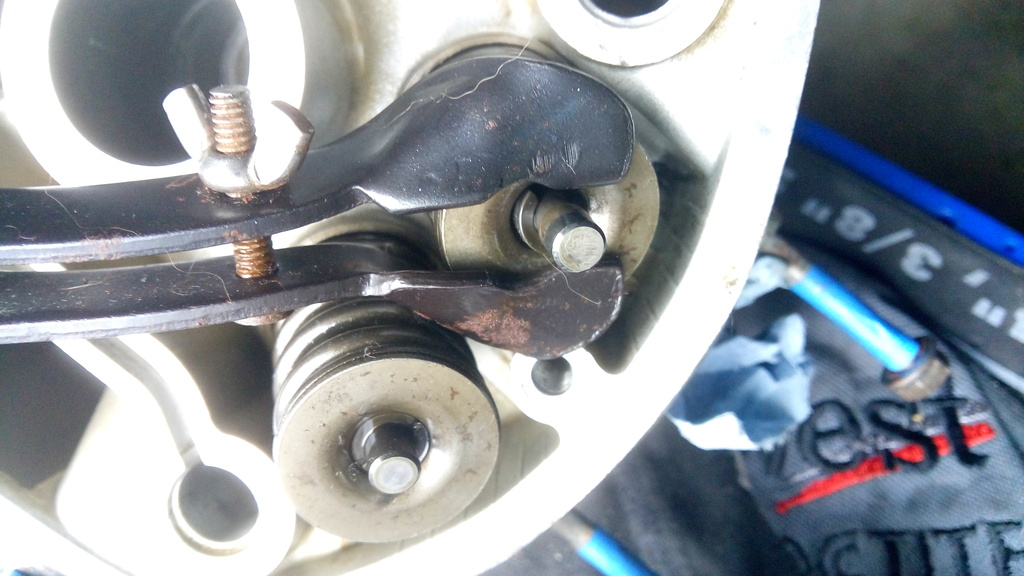
Then slowly loosen the valve tool to allow the collets bed in. Remove the spring compression tool.
I always test each valve – I use the tip of the handle on a rubber mallet and press (very hard) on the tip of the valve a few times to ensure it opens and closes and everything is ok.
Then its a simple case of repeating this for each of the other 3 valves. I clean the piston head a bit before removing the packing I put in the coolant gap. I give head surfaces a little wipe down with 800 grip sandpaper and wipe the surfaces with meth spirits.
Fit a new head gasket (i dont mess with any but genuine Honda ones). Dont forget to fit a new little oil-jet rubber o-ring.
Fit the head carefully ensuring the o-ring or nothing moves.
I screw in the 2 x 10mm bolts hand tight.
Fit the rocker assembly.
Install the push rods – I put them back in the way they were and in the position they were in.
I put the head bolts back where they came from – tighten them with fingertips (difficult as some of them have oil in the bottom and need a spanner).
Tighten in a criss-cross pattern until snug – then get out the torque wrench to finish them off, about a quarter turn at a time in a criss-cross pattern until each click at about 38 to 40ftlb.
Pinch up the 2 x 10mm bolts tight.
Squirt clean engine oil on the rocker assembly and valve springs.
I then usually turn over the engine by hand using the front nut on the engine a few times then go back and check the valve gaps etc.
job done !
Eric.


